The completed boards are here at last, I still have a couple more final outcomes to add and another materials and sustainability board but this gives the idea of how they will look finally. Remember if you are doing commercial property use SMARTdraw for floor/site plans but only use the free trial - don't pay for anything!
Neoteric Photography aims to explore photography in an age where the image is everywhere. The image has become prolific yet easily forgotten. Hoping to find something to hold onto, something that will survive longer that it takes for pixels to appear upon a screen.
Followers
Friday, 1 March 2024
Twilight House Final Boards Process
I have been working on an interior design project this term 'Twilight House', I created the design on Homesbyme as this is free and you can have fully rendered 3D images of the designed rooms and I could create my floor/sit plan easily in 2D with dimensions and square footage.
The boards, I created on Photoshop by creating a canvas ('New' in the top menu and then I clicked on 'Print' in the dialog box and then chose A3, landscape orientation at 300 resolution, I also just chose a white background to begin) I then added an abstract image by Ben ayes from Unsplash to use as my backdrop on each board for my designs. To add this I went to the top menu clicked on File and then Open and then just chose 'Select' and then All in the top menu and Edit and copy. I then went back to my canvas tab in photoshop and went to Edit and then paste, I used the move and transform tools to adjust the image so it covered my canvas. I then went over to my layers panels and adjusted the opacity to 78%.
I then added the logo that I had already created on Freelogodesign.com, I clicked on 'File' and then 'Open' in the top menu and then again used 'Select' and 'All' and then Edit and copy. I went back to my canvas board and clicked on Edit and Paste then used transform and move tools to adjust size and place in the correct position in the right-hand corner.
I used here the Baskerville Old Face Font in 60pts for the title of my project and 48pts for the title of the board. I will do this for each board so that every board is consistent.
I now just need to add images and information using the same tools as above. Here I have used the same font and the titles here, are at 30pts and the text at 24pts. On this board, I could only fit the flooring. I will need to make another board for furniture and certification for sustainability. I also completed a spelling and grammar check by clicking on Edit in the top menu and then check spelling.
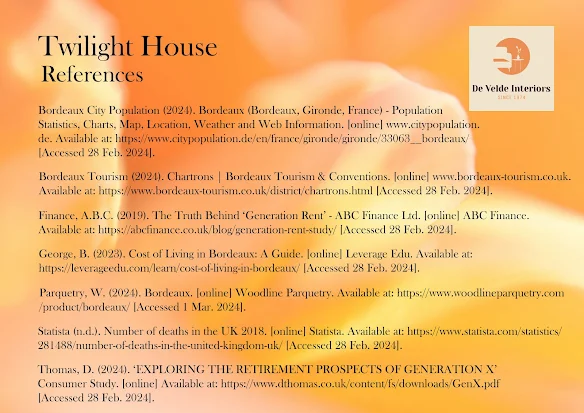
I have created a list of references on MyBib as I have gone along so that these are easily copied to my final references board.
The process for the architectural/interior boards is the same as which means there is consistency and these can easily be saved as both psd files for editing and jpegs for uploading to Wix in a gallery.
Thursday, 22 February 2024
Target Market/Ideal Customer: Interior Design
I created an Ideal Person for my Twilight House design on Venngage. This is my client for my Interior Design
References
Finance, A.B.C. (2019). The Truth Behind ‘Generation Rent’ - ABC Finance Ltd. [online] ABC Finance. Available at: https://abcfinance.co.uk/blog/generation-rent-study/ [Accessed 28 Feb. 2024].
Statista (n.d.). Number of deaths in the UK 2018. [online] Statista. Available at: https://www.statista.com/statistics/281488/number-of-deaths-in-the-united-kingdom-uk/ [Accessed 28 Feb. 2024].
Monday, 19 February 2024
The Final Book: The Quietus
After much work, rewriting, proofreading, and working on the design and layout of my book I have now completed this.
I will be embedding the book into my website so you will be able to read online or you can buy a copy from Blurb. This is only the beginning of the story, I have so much more yet to write! However for this small project I give you the first three chapters and I do hope you enjoy reading this.
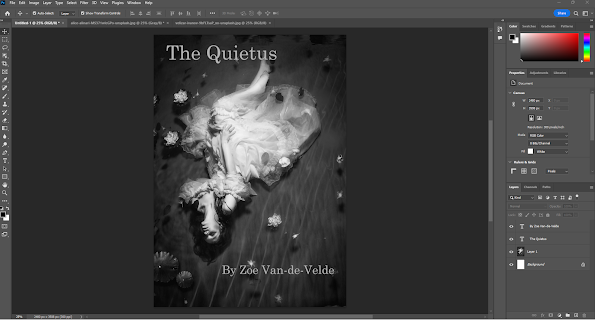
Book Cover Creation: Photoshop
I am going to create my book cover using Photoshop. I will show the process here and my design decisions.
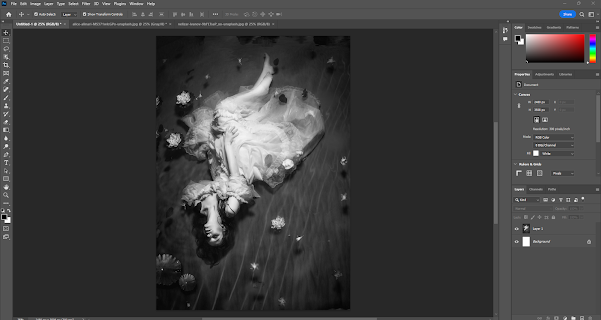
I began by creating a canvas, I did this by going to the top menu and clicking on 'file' and then clicking on 'new'. A dialog box then opened and I chose 'Print' in the top menu and then A4 size. I then chose the orientation of 'portrait' and checked the resolution which was 300 ppi, as I wanted high quality for print. I then chose the colour of my background, I chose white as I probably will fill the page with an image.
Sunday, 18 February 2024
Blurb: Chapbook Creation Process Two
After finalising the final chapter I went back to Blurb and began by adding the blurb to the back cover. I clicked on the back cover dragged a photo in filled the cover and then moved the image into place, I added a text container and again changed the font to Century Scholbook 16pts and added the text.
Chapbook Final Chapter
The disappearance book project is now on its final chapter, just to get this started I share with you 'Nobody Told Me' by John Lennon. A little inspiration to share
The final chapter 'The Frogget Estate Fire' is obviously not the final chapter but for the purposes of this first book it is the last we will see of Amande for the moment - her journey will of course, continue..
The Disappearance: Chapter Three
Here is the first draft and then the second draft corrections which I am adding now.
My next post will be the final process of adding the final chapter and publication of 'The Quietus'


