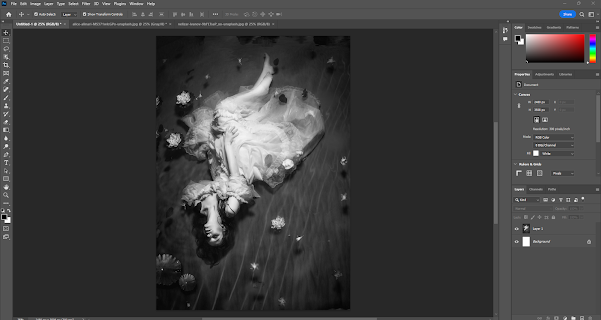
I am going to create my book cover using Photoshop. I will show the process here and my design decisions.
I began by creating a canvas, I did this by going to the top menu and clicking on 'file' and then clicking on 'new'. A dialog box then opened and I chose 'Print' in the top menu and then A4 size. I then chose the orientation of 'portrait' and checked the resolution which was 300 ppi, as I wanted high quality for print. I then chose the colour of my background, I chose white as I probably will fill the page with an image.
I then chose a couple of images from Unsplash that I intended to try for my front cover. I then went back to Photoshop and I went to 'File' in the top menu and then 'Open'. I then examined both images and then I chose the one I thought had more impact and was more suitable to the title of my book. I then wanted it to be black and white so I went to 'Image' in the top menu and then Mode and Grayscale.
I then went to select in the top menu and Select 'All' and then I went Edit the top menu and 'Copy'. I then went back to my original canvas and clicked on Edit and the 'paste'. I then used my move tool and transform controls that I clicked on the lower top menu as they appeared as I clicked on the move tool. I then transformed my image to fill the canvas. I wanted my front cover to fill the page.

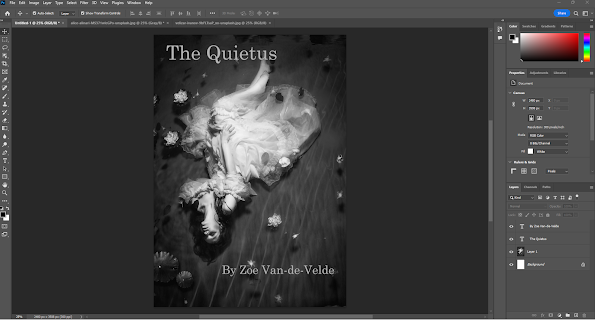
I then added the title and my name to the cover, I did this by clicking on T in the tools menu on the left-hand side. I then clicked on my canvas and all my text tools were now in the top menu so I changed the title and changed the colour to a light grey shade, I chose this by clicking on the colour palette and choosing this in the pop-up box and then clicking 'ok'. I then chose the font which was Century Schoolbook at 60pts. For the author name I did the same however, this was 36pts. I then used the move tool in the left hand menu and placed the title and author name in the right positions and lined these up using the gridlines.

Finally, I saved my work by clicking on File in the top menu and then 'Save As', then the file folder appeared and I added the name of my cover and checked it was a psd file and clicked on save onto my desktop. I then went to File and Save a copy and then the file box appeared and I chose jpeg in the drop down menu and saved again on my desktop. I will also save these onto my google drive. My final work is below. I can now use this, if I choose as my book front cover.
I created this in class, and it was most enjoyable and it does rival the actual book cover that I used for the finished book. I really like this image in black and white and the stream and water here, the woman i used on my final cover was completely immersed and floating so I think it perhaps is closer to the title of the work and so probably the right choice - however do really like this version - perhaps I can have alternate covers!


No comments:
Post a Comment