The T-Shirt transfer paper is a fairly simple way of adding an image to material, as this is light T-Shirt transfer paper (just cheap stuff from Wilkinsons) the cloth/material needs to be white or pale/pastel coloured for this to work.
The process for this is fairly straightforward as I just need to find a photograph I would like to use and for my project, I will take specific images - however, for this experiment, I will use this image taken recently:

I am going to use this one as I think the textures and the black and white will work really well on white cloth. So I have loaded the transfer paper into my printer as directed. My printer does not have a transfer paper setting so I have flipped the image manually just using the desktop photo editor and then saved this as a copy. I then go to the image and set to print on high-quality paper.

Once this has printed onto the paper I will leave this to dry to ensure that I do not smudge or degrade the print. I will then put this image onto cloth/material. This will require another search of my house to find suitable material for the purpose! This is okay as my printer is taking some time to print for high quality!
Just discovered I have some calico stashed away and this will be perfect as it has a slightly creamy colour and its texture is a little rough so I think it might really bring out the textures in the image. Calico is essentially a not fully processed cotton, unbleached material
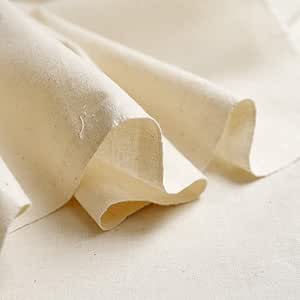
It is quite cheap - mine still has a price of £3.00 for 1.6 x 1 metre. Although from buying this material for the college we have noticed an increase in the price recently. I will now iron the material so that there are no creases. I then place the printed image face down onto the material on the ironing board. The iron is on the highest setting with no steam. I then place a tea towel over the top of the backing paper and begin to iron in smooth circular motions as directed to ensure that the heat is distributed evenly. I apply heat for between 90 - 120 seconds, once I am satisfied the transfer has adhered I leave this to cool and then I can remove (very carefully) the backing sheet.
The results were good please see the images below:


As you can see the image is now on the fabric - I think it looks better in real life as that is the point really to feel the fabric and the image in your hands - the texture of the material and the image worked well together and this I may use in my work. My next post I will trying out Decal .... on wood!
No comments:
Post a Comment