In this post, I will be creating my portfolio and website gallery on my Wix website. I will be adding my finalised Interior Design Project onto the gallery.
The first element I changed was the colour of my portfolio page to match the rest of my site, I right clicked on the mouse and clicked on change background and then I chose the colour as per my other pages.

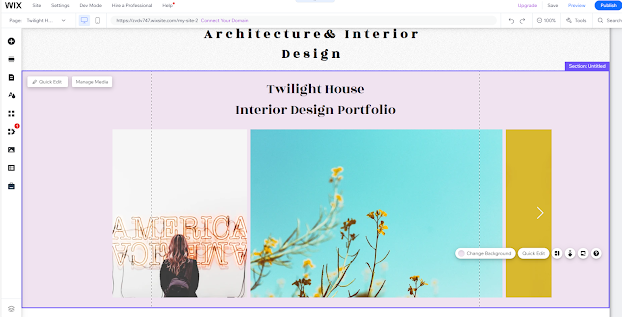
I added an image to the page by clicking on the Add button on my left hand tools menu on Wix and then I clicked on image, the upload image. I then chose an image from my project from my desktop file. I then added this to the page and used the transform tools to change the size and position of the image.

My next step was to go to the pages and menu and create a new page for project. I went to the bottom of the pop up menu and clicked on 'New Page' and then I changed the name to the name to the name of my project. I then clicked on the three dots at on the menu page and on that pop up menu I clicked on subpage. The new page now appears underneath my portfolio page on the navigation menu.

I then changed the background colour to the same colour as my other pages, now my page is ready for my portfolio work for this term. I then added my Title of my project by clicked on the add button and then text and 'heading' I changed the font to be consistent with the rest of the website to Rozha One I changed the size to 42pts and then I used the move and transform controls to put this in place and I used Wix gridlines to line this up. I then went back to the add tool in the left hand menu and chose 'Gallery' and then I chose a suitable landscape orientation gallery for my interior design project.
I then added a button for navigation. I did this by clicking on the add in the left hand menu and then clicking on button. I then chose a button design and dragged this onto my page. I then clicked on the button and changed the text to 'Back to Portfolio' and then I linked this to my portfolio page. I then went to the design button on the button and I changed the shape of the button and then customised my designed changing the font to Rohza One to match the font choice of the website and then I used the move and transform tools and Wix gridlines to line the button up on the page.


I then uploaded all my images to my gallery. I did this by clicking on 'manage media' and then uploading
from my desktop and external hard drive. I then organised the gallery as per below by just dragging and dropping my boards into position.

I then went to the page and checked all the boards had uploaded correctly and expanded to full size. I did this by clicking on preview and making sure this worked correctly. All of the boards worked and were in correct order.

I clicked on 'save' to ensure all my changes were saved. I then just made some minor adjustments to my front page to ensure everything was consistent. I have a couple of final outcomes to still upload however everything looks good and is ready for publishing.
I then check my mobile view and I changed the size of the title and removed blank Space that was unnecessary by using the arrow button the section.

I then checked my gallery page on the mobile view and adjusted the size of the font on the button just by clicking on the A- sign and then I changed the size of the font of the title again just by using the A- icon to reduce the size. Again I removed unwanted blank space using the arrows on the page. I then previewed and checked that all buttons and the gallery sliders were working and would come up full size once published.

No comments:
Post a Comment