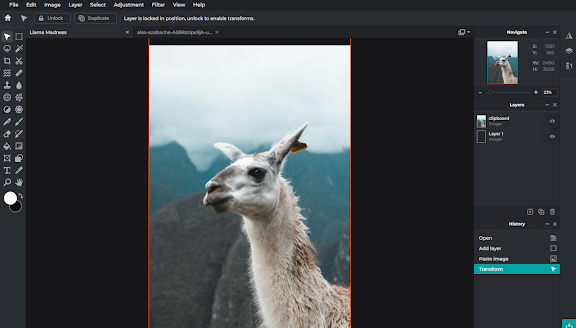
Today we are going to create practice advert using Pixlr E. This will be a charity advert. I began by choosing images on Unsplash that were copyright free. I then opened Pixlr E, I then chose 'create new' then I went to the dialog box and chose 'print' and then I chose A4 and a white background and then clicked ok to create my canvas.

I then opened my image by clicking on 'File' , 'Open image' and then I selected the images clicked on Select All and then I clicked on 'Copy'. I then went back to my canvas layer and clicked on 'paste' and then I used the transform controls to pull my image out and fill the fill canvas.
My next step was to go to Tailorbrands logo maker to create my logo for my Llama charity. I created this logo called 'Llama Loco' which will be the name of my company. I changed the colours to be sympathetic with the rest of the colour palette my advert.


I then wanted to make a tagline so I clicked on the text tool the left hand side menu and then I added a text layer. I then used the text tool menu to change the font to Beornheard 154pts for my top line. I then clicked on fil to change the colour which I changed to a shade of blue to match the colour palette. I repeated this for my final tagline and used a slightly different shade of blue and it was 201pts in size.
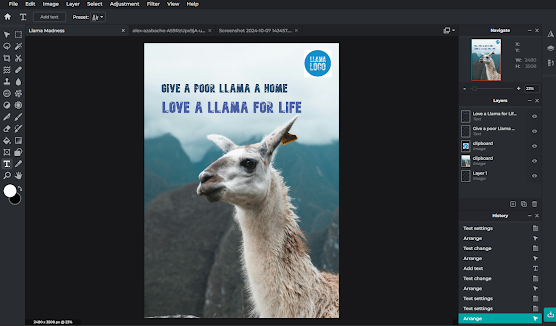
I then exported my final advert as png and you can see this here.

This is just a practice on my real advert I will spend more time on layout, image, tagline and colour palette.
No comments:
Post a Comment